Quick Tips & Tricks for Easy Mass-Produced Holiday Cards
by Erica Andersson October 14, 2026

Key Takeaways
Batch Your Workflow: Prepare and cut all card bases, strips, and sentiments in advance to maintain momentum and save time.
Keep Designs Simple: Clean geometric designs—like 1-inch cardstock strip layouts—look modern and elegant while keeping production fast.
Streamline Your Palette: Stick to a cohesive 5–6 color palette across all cards so you can mix and match components seamlessly.
Over-Prepare Your Quantity: Always craft 10 more card bases than you need to cover mistakes or create a thoughtful gift set for loved ones.
Hi Altenew friends and fans! It’s Erica back on the blog and YouTube channel today with some essential tips and tricks on getting your holiday cards prepped, crafted, and ready to mail!
It might "only" be mid-October, but the final months of the year always seem to fly by in a blur of festivities. Setting aside a little time to mass-produce your holiday cards sooner rather than later will save you immense stress down the road. Let’s dive into how you can make quick, beautiful holiday cards in bulk without losing your creative spark.
Did You Know?
The Power of Batch Processing: Studies on workflow efficiency show that switching between different tasks (like cutting paper, then gluing, then stamping) can increase total task completion time by up to 40%! By scoring all card bases first and cutting all sentiment dies at once, you leverage "assembly line focus," allowing you to finish dozens of handmade holiday cards in half the time.
1. Choose Simple & Efficient Holiday Card Designs
A critical secret to successful mass production is keeping your holiday card designs simple and streamlined. However, simple never has to mean boring!
You can easily elevate a straightforward layout by using a vibrant, festive color palette that works for virtually all winter holidays. Pair a fun background with a bold sentiment set, and you are already halfway to a finished stack of cards.

2. Select a Cohesive Holiday Color Scheme
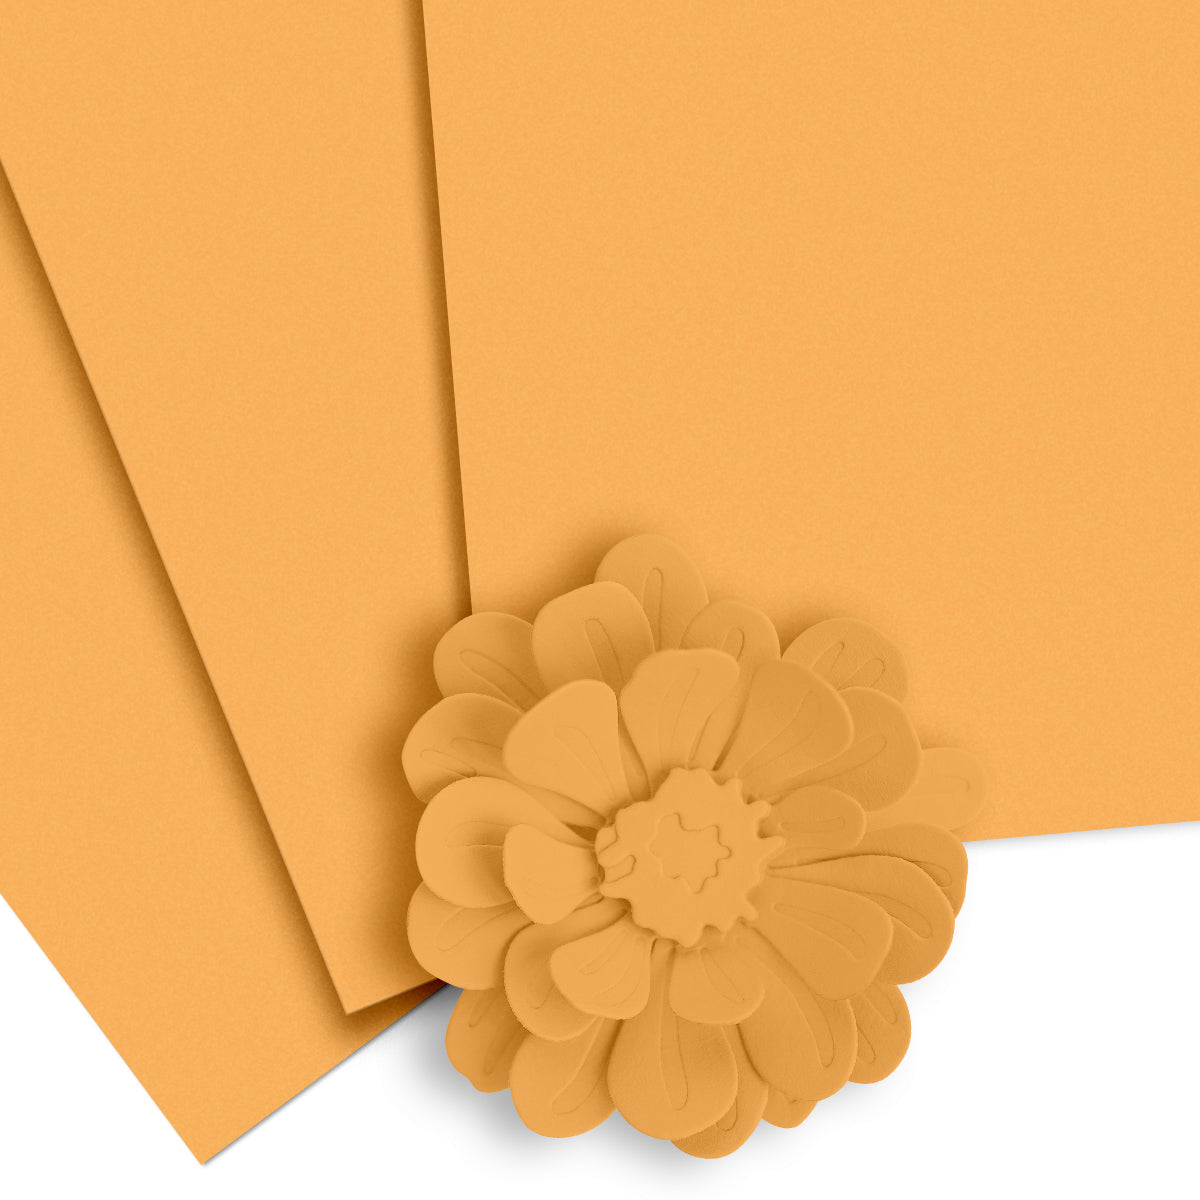
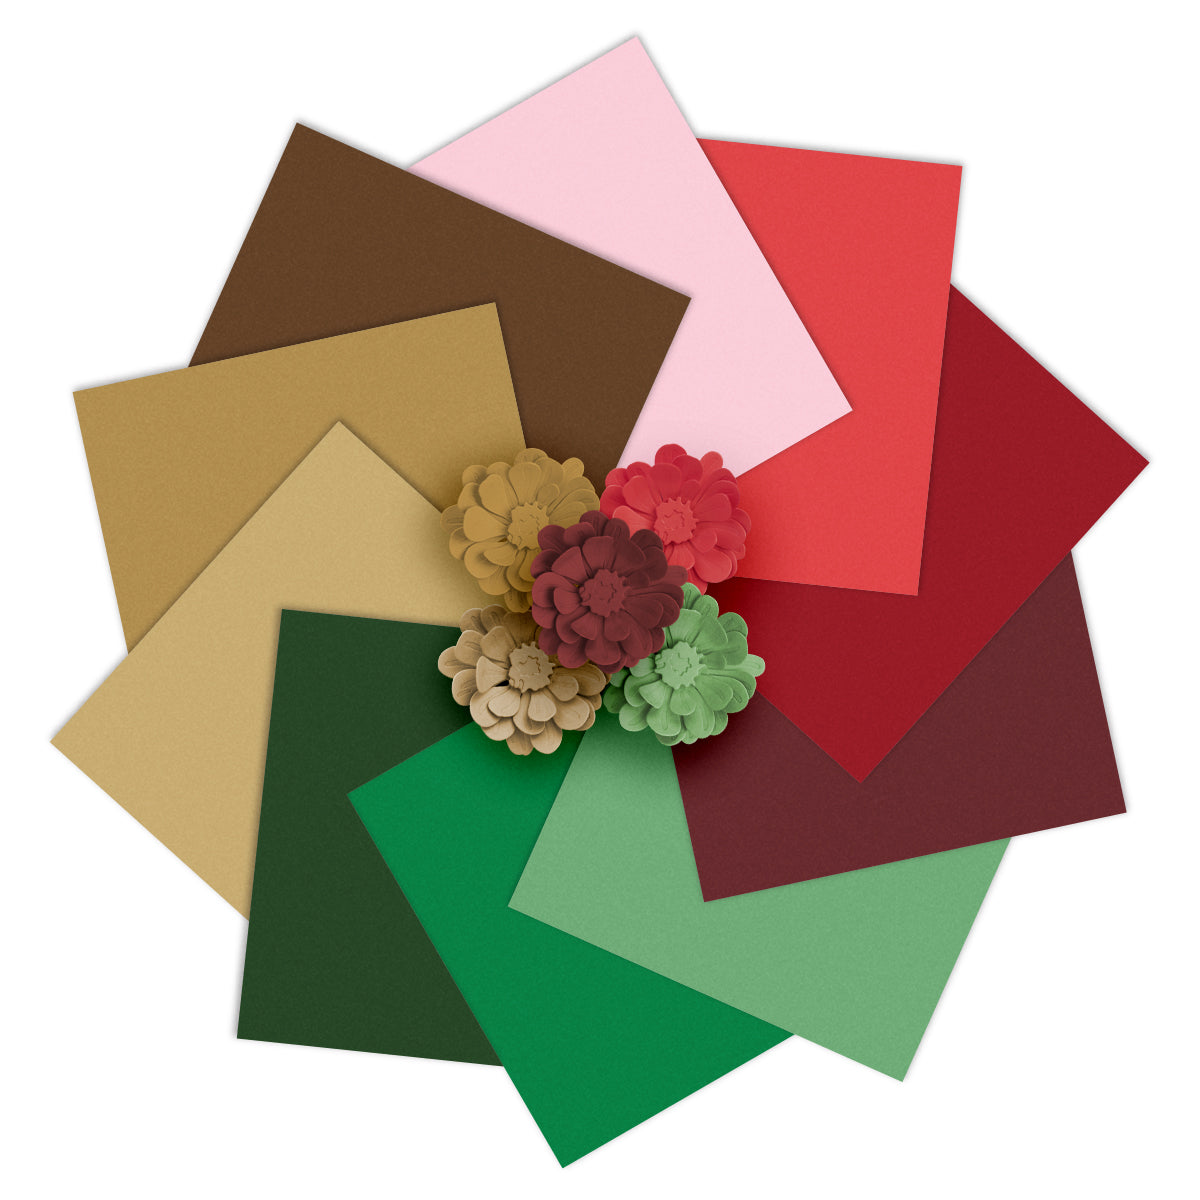
For this project, I picked out six shades of Crafty Necessities Colored Cardstock. If six colors feel a bit too busy, you can easily trim down your selection to three or four shades.
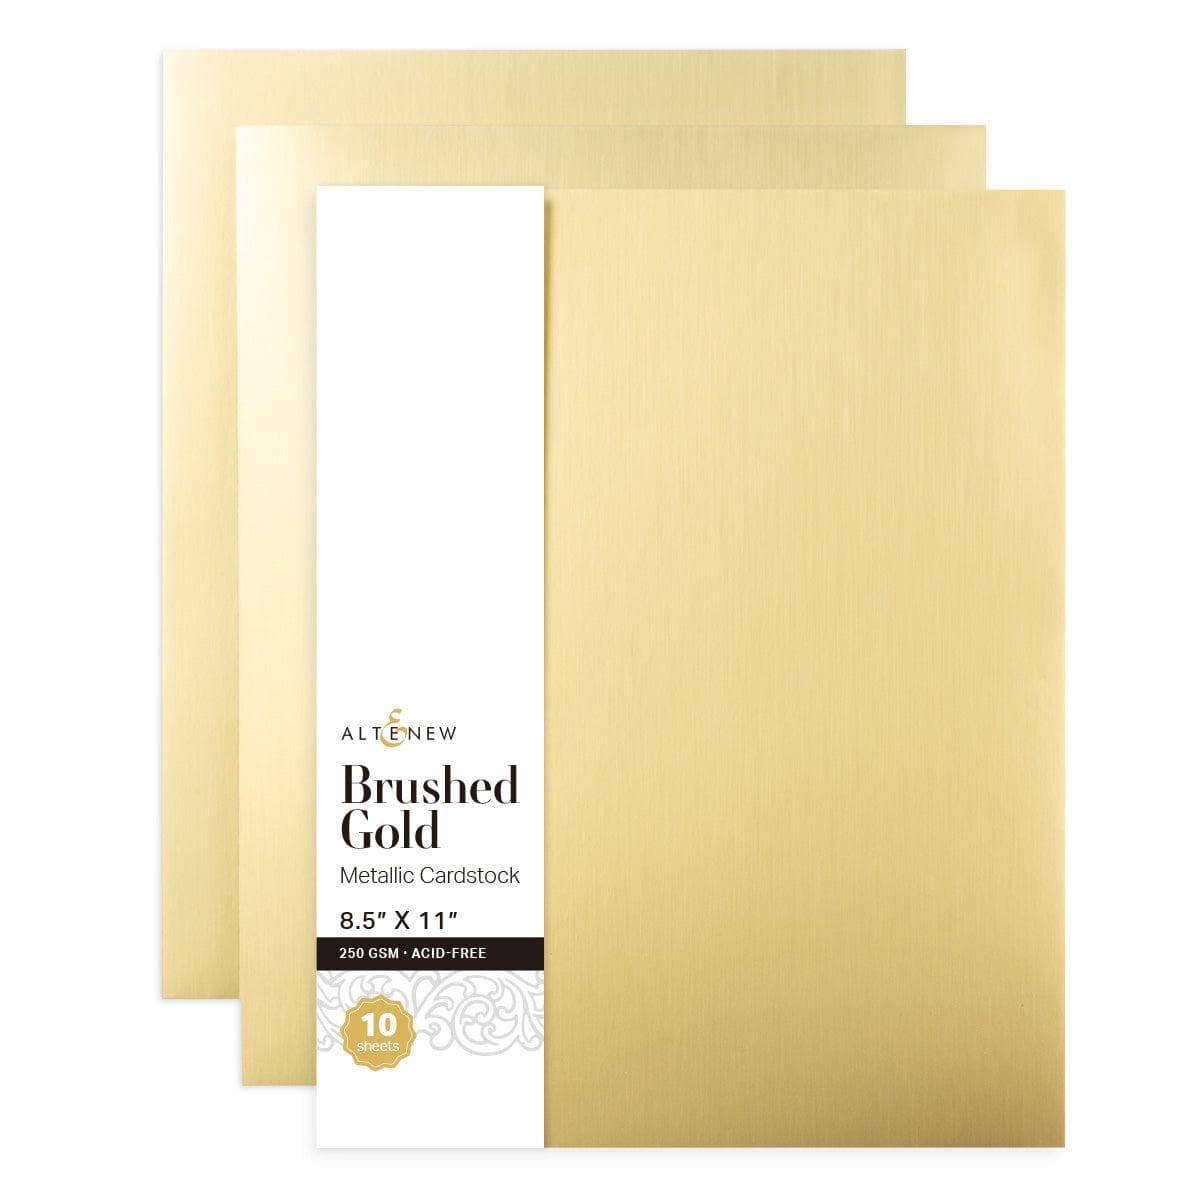
Pro Tip: Swap one color for metallic cardstock to instantly add subtle elegance and shine. After all, if you can’t add a splash of brushed gold to your holiday cards, when can you?


3. Prep Your Card Bases First
If you need to cut, score, and fold your own cardstock bases, handle this administrative step before doing anything else. While base prep can be repetitive, getting it out of the way sets up an efficient assembly process.
Count Your Recipient List: Double-check your holiday address list to determine your base requirement.
Add an Extra Buffer: Always prepare at least 10 extra card bases beyond your initial count. This accounts for misprints or assembly mistakes.
Bonus Gift Idea: Any leftover blank cards at the end of the season can be tied with ribbon and gifted to friends, neighbors, or teachers as a thoughtful stationery gift set.

4. Use Paper Strips for Quick Card Backgrounds
Arguably, cardstock strips are one of the simplest and most striking ways to add pops of color to a blank card base.
Cut your cardstock into 1-inch wide strips using either a strip die-cut or a standard paper trimmer.
Separate your cut strips into color piles to keep your workspace organized and tidy.
Note: Simple layouts don't look childish—they look clean and modern. However, because this technique is so straightforward, it's also a fantastic way to get kids involved in the cardmaking process if you want extra help or want to encourage their creativity!

5. Sentiment Options: Die-Cut vs. Stamped Sentiments
Deciding whether to stamp your sentiments or use die-cut words comes down to personal preference and available time.
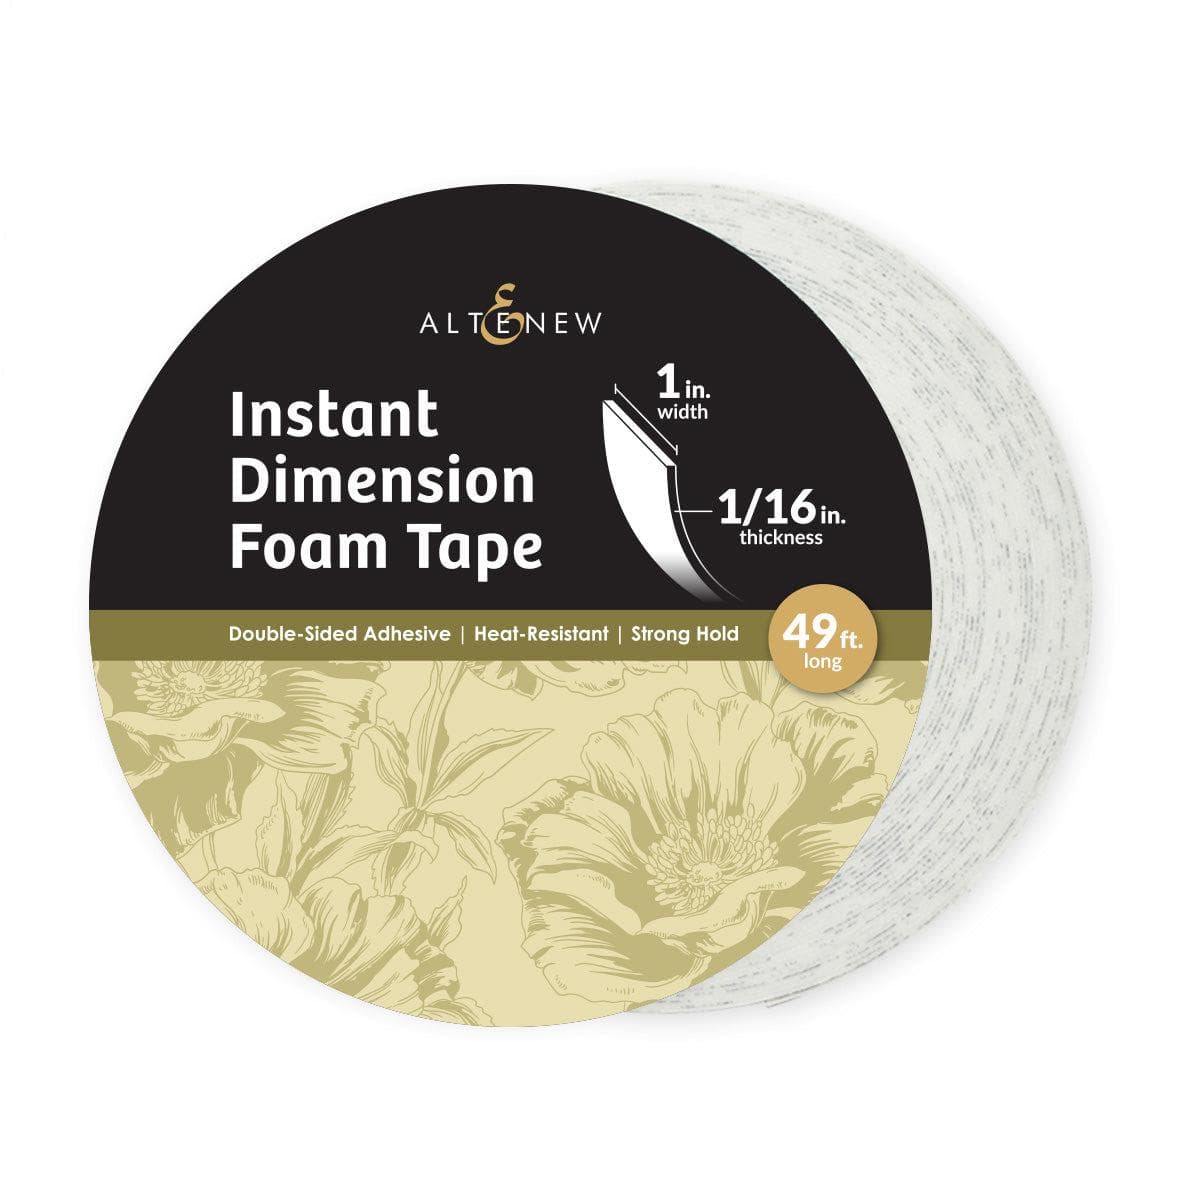
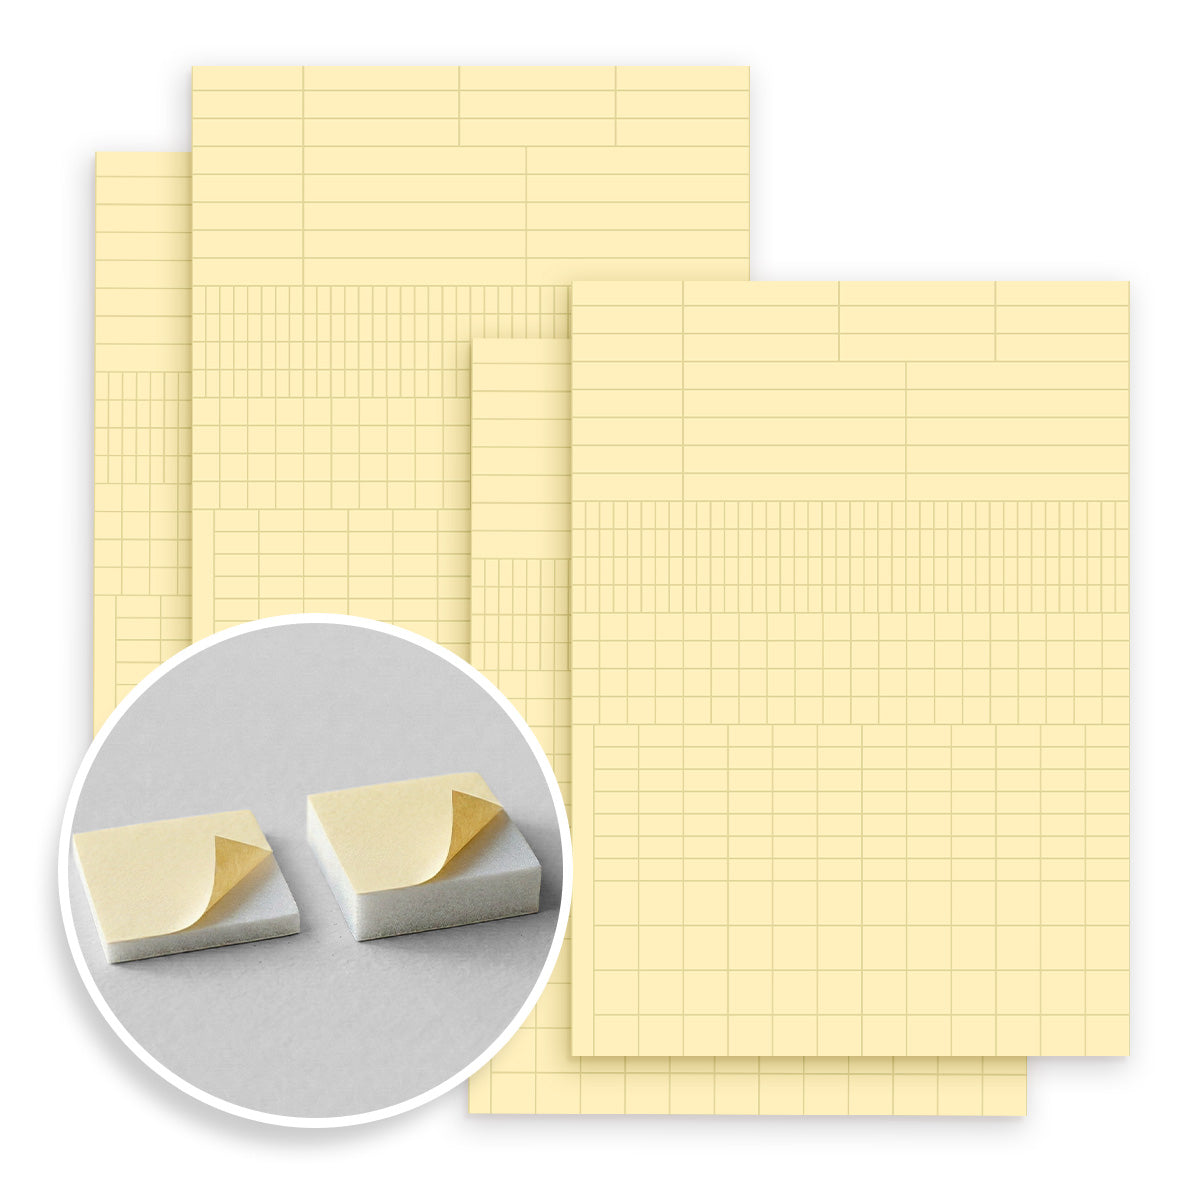
Die-cut sentiments bring touchable dimension and character to holiday cards. You can leave them flat, alternate colors, or pop them up with Instant Dimension Foam Tape.
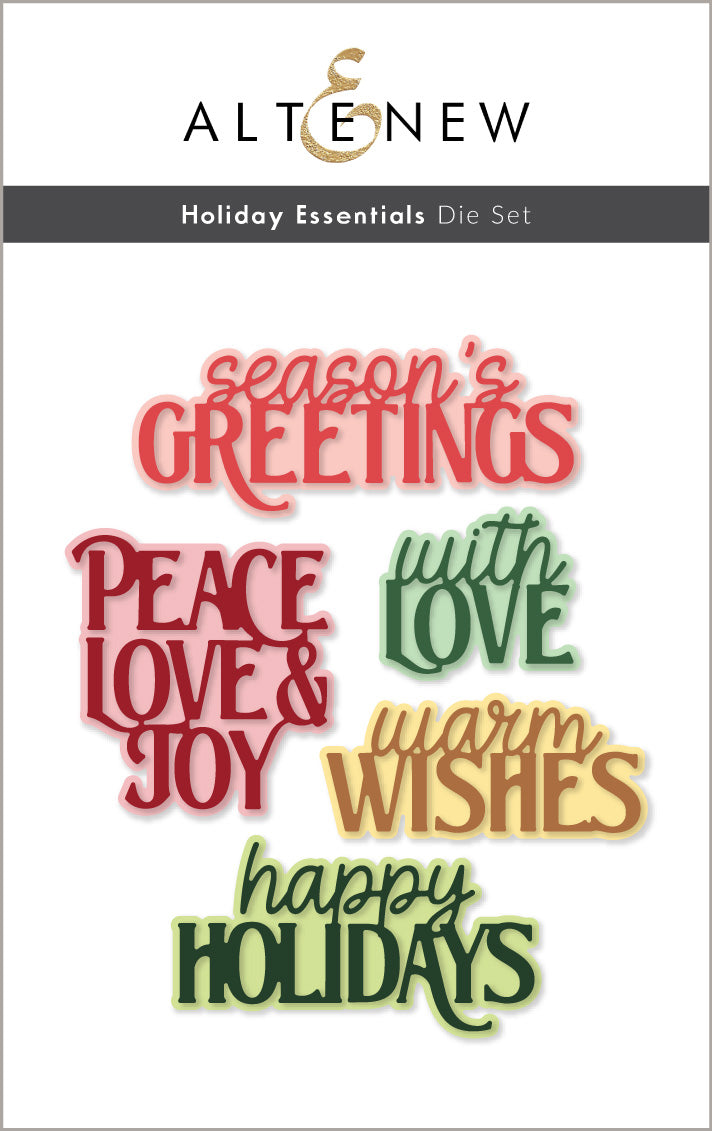
Die Set Recommendation: The Holiday Essentials Die Set is extremely versatile and holiday-neutral. These word dies pop beautifully when cut from classic black and white cardstock, colorful cardstock, or Brushed Gold Metallic Cardstock.
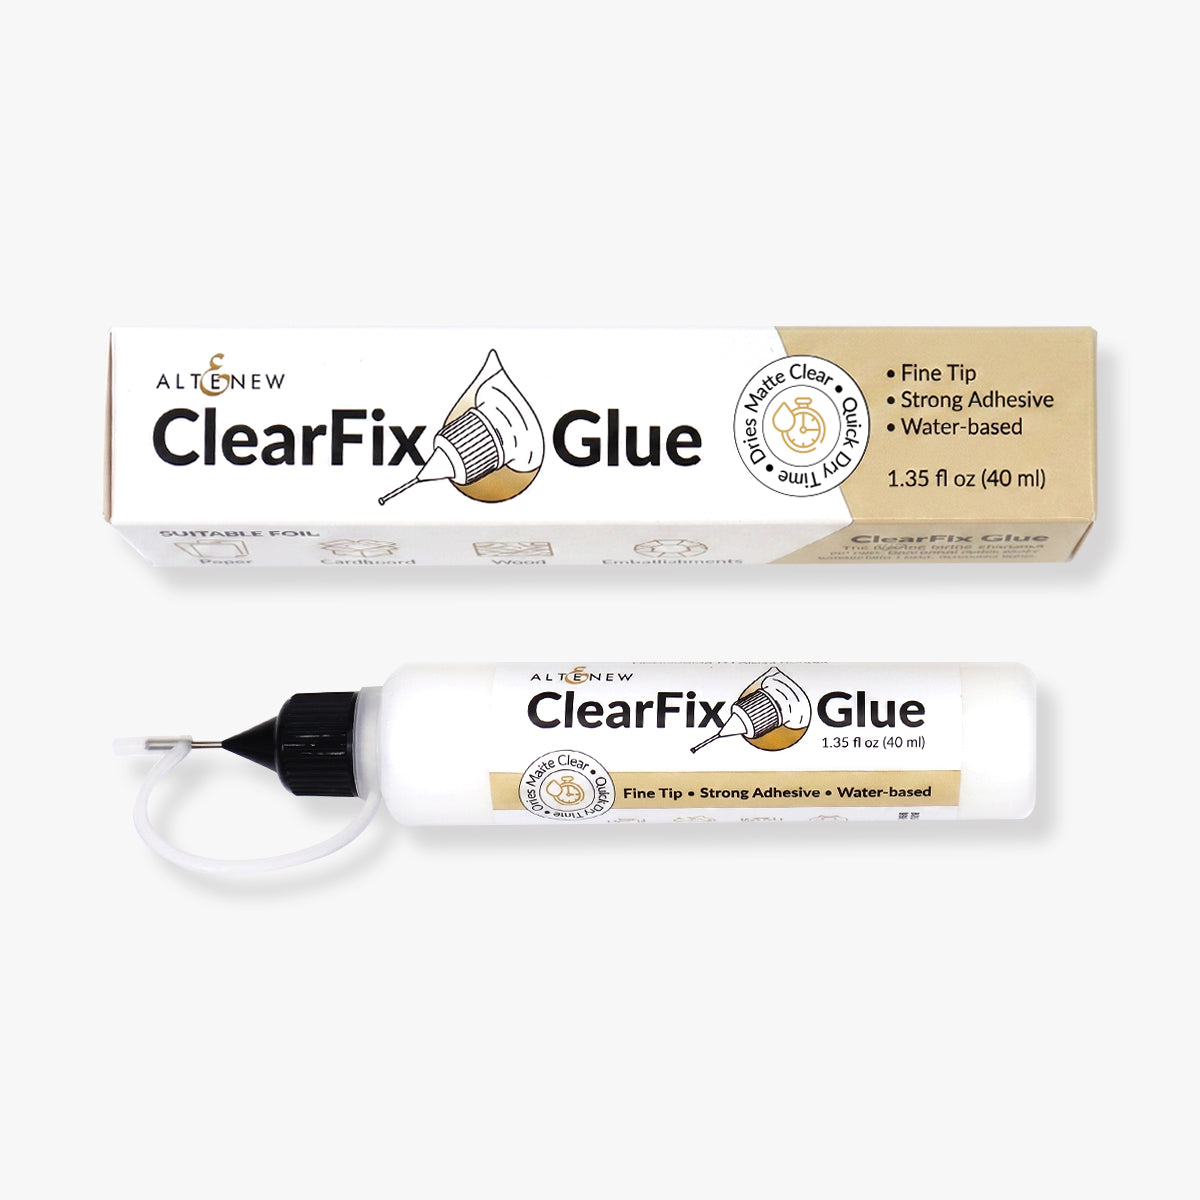
Adhesive Tip: When layering delicate word dies, use a liquid adhesive with a fine precision tip (like ClearFix Glue). The ultra-fine applicator ensures precise placement without messy glue seepage.

6. Streamline Your Final Card Assembly

Before starting assembly, make sure all your individual elements—card bases, background strips, and sentiment layers—are fully prepared. Stopping mid-assembly to cut more paper disrupts your momentum and slows down overall production.
Fast Layout Variations to Try:
The Framed Look: Trim an A2 panel slightly smaller than your base, adhere your cardstock strips directly onto it, and mount it onto the main base for a crisp white frame.
Flat vs. Dimensional: Use Ultra Sticky Double-Sided Tape to keep cards completely flat for easy, low-cost mailing. Use Instant Dimension Foam Tape on cards intended for hand delivery to add eye-catching depth and texture.
Embellishments: Keep mailing constraints in mind! Leaving off heavy gems or liquid drops keeps your envelopes flat, ensuring smooth delivery through automated postal sorting machines.

Start Your Mass-Production Today!
Getting a head start on your handmade holiday cards is the best gift you can give your future self. I hope these tips inspire you to break out your cardstock, pick a color scheme, and start prepping your components today!
Did this guide inspire you to start your holiday crafting, or are you super organized and already finished? Let me know in the comments below, and don't forget to check out the accompanying YouTube video for a step-by-step visual walkthrough of these five layouts!
With love, light, sparkle, and creativity,
— Erica
|