Adding an Artistic Flair To Your Projects with Art Studio Treasures
by Nathalie DeSousa August 10, 2026

Key Takeaways
Transform project photos into realistic gallery displays by mounting them directly onto die-cut canvas easels.
Customize blank paper paint palettes and tubes using ink droplets that match your page’s exact color scheme.
Layer background cardstock with patterned paper and paper "ledges" to create structural depth and naturally anchor your focal points.
Hello crafty friends! It's Nathalie with you today to share a new creative idea on adding an artistic flair to your projects with Art Studio Treasures Layering Die Set. I am loving this new set! The details in each of the icons in this set is intricate and precious, the blank canvases give you options to adding extra details, and the easels are just a great way to add a focal point. This is probably one of those perfect sets for crafters and artist alike; so, I am using it to create a spread about my crafty niece in my 6x8 Family album. Let's take a look.

Using Art Studio Treasures as a Focal Point in Your Project
The new Art Studio Treasures die set is design to easily help you with your projects. It gives you pieces that can be combined to create both focal points and embellishments that can easily be customized for adding an artistic flair to your projects.

The photos of my niece embroidering needed to take on as the centerpiece for this spread. So, what better way to display them than to make them into part of a scenes with the help of the easels in the Art Studio Treasures Layering Die Set. This is just how we are going to get started with adding an artistic flair to your projects. So, let's get crafting.

Here is how I created the focal points for the two sides of my spread.
- Trim a 12" x8.5" piece colored cardstock into a 5" x 8.5" and 7" x 8.5" for the background.
- Next trim a 12" x 3.5" piece of patterned paper into a 5" x 3.5" and a 7"x 3.5" piece and adhere them to the bottom of each side accordingly.
- Trim Crafty Necessities Cardstock into a 5"x 0.75" and a 7" x 0.75" pieces and adhere at 5" from top edge on each side accordingly -This will create a ledge on the page that will help anchor pieces to the spread-.
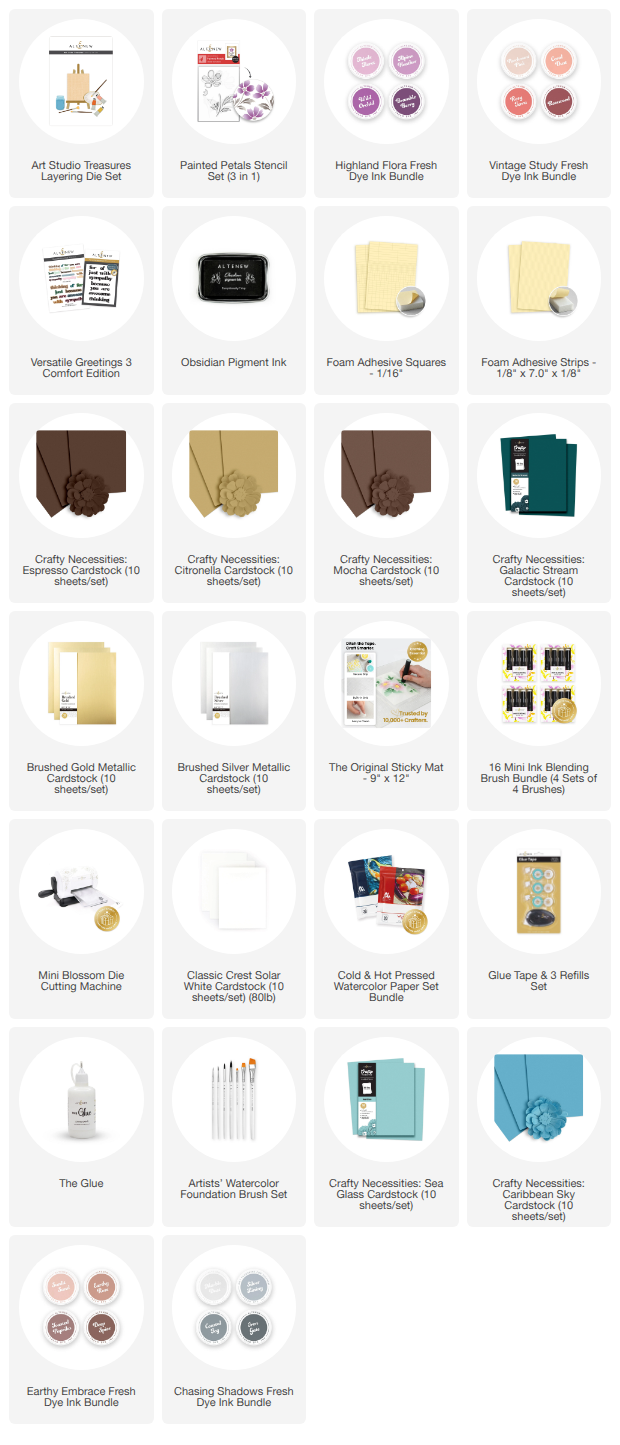
- Use the easel dies in the Art Studio Treasures set to cut Crafty Necessities Espresso Cardstock into one (1) set of die cuts, and cut Crafty Necessities Mocha Cardstock into two (2) sets of die cuts.
- Blend small amounts of Toasted Paprika Fresh Dye Ink to the edges of each of the easel die cuts. Then using the guide and glue assemble each die cut together,
- Use canvas die from Art Studio Treasures to cut three (3) images from white cardstock.
- Adhere photos to two of the canvases die cuts, then arrange them on the easel on the right side on the spread.

- Use Stencil 1 from Painted Petals Stencil Set and a combination of Parchment Pink Fresh Dye Ink and Thistle Floret Fresh Dye Ink to color the flowers in the design onto the last canvas die cut.
- Use Marble Dust Fresh Dye Ink to color the steam and leaves in the Painted Petals stencil 1 to color the stem and leaves on the canvas die cut.
- Dilute some Parchment Pink Fresh Dye Ink with water and using a fine watercolor brush add splatters to the stenciled canvas. Set aside to dry
- Adhere Espresso cardstock easel die cut to the left side of the spread above the paper ledge.
- Using Foam Adhesive Strips adhere the colored canvas to atop of the stencil.
Adding an Artistic Flair To Your Projects With Art Studio Treasures Embellishments

The fun designs in the small die cuts in the Art Studio Treasures set make adding embellishments and reinforcing the story of your project so easy. This is just another way this new layering die set can help you when adding an artistic flair to your projects and transforming them to a unique project.
Customizing Your Embellishments with Subtle Touches

All the small die cut images in the Art Studio Treasures set are adorable and so well detailed that it makes it so easy to customize them to suit your projects. Here is how I created the ones in this spread:
- For palette die cut, use Brushed Gold Metallic Cardstock, white carsdtock and Art Studio Treasures palette dies. Assemble together.
- Using a thin watercolor paintbrush add small drops of the ink colors used to create the image on the stenciled canvas to the wells in the palette.
- Adhere to right of easel with stenciled image.
- For Paintbrushes die cuts, use the three Paintbrush dies from Art Studio Treasures, Crafty Necessities Galactic Stream cardstock (base), Brushed Gold Metallic Cardstock (fastener), and Crafty Necessities Citronella Cardstock (bristles). Assemble following the guide in the set.
- For jar die cuts, use Crafty Necessities Sea Glass Cardstock (jar) and Crafty Necessities Caribbean Sky Cardstock ( water) to cut two of the jars and one water images.
- Assemble the jar with water die cut.
- Using a crafty knife carefully cut a slit in the top of the jar (this will look as there is a rim on the jars)
- Insert one brush die cut in the jar with water die cut and adhere to right of easel with stenciled canvas.
- Insert other paintbrush die cut inside the jar die cut and set to the right of the photo easels.

- For paint tubes, use the three dies in Art Studio Treasures, Brushed Silver Metallic Cardstock (base),and white cardstock (lids and labels) to cut pieces.
- Using the same color inks as in the stenciled canvas, color each of the labels with one of the colors.
- Assemble paint tubes using guide and set them to the right of the photo stencils below jar with brushes.
- To create title/sentiment use Versatile Greetings 3, Obsidian Pigment Ink, and Watercolor paper.
- Select sentiment and using Foam Strips adhere below photo easels.

I love how the new Art Studio Treasures Layering Die set works magically when adding an artistic flair to your projects, regardless of the type of crafty project. So easy to customize to your needs and with the cutest details that will enhance any design. I cannot wait to see what you create!
XO

Get 40% OFF Fairyland Florals Simple Coloring Stencil Set (4 in 1) + get a FREE Fairyland Florals 3D Embossing Folder on orders over $65 from August 9, 2026 at 12:01 AM EDT until August 10, 2026 at 11:59 PM EDT. Shop here: https://oltonew.shop/products/fairyland-florals
Supply List